


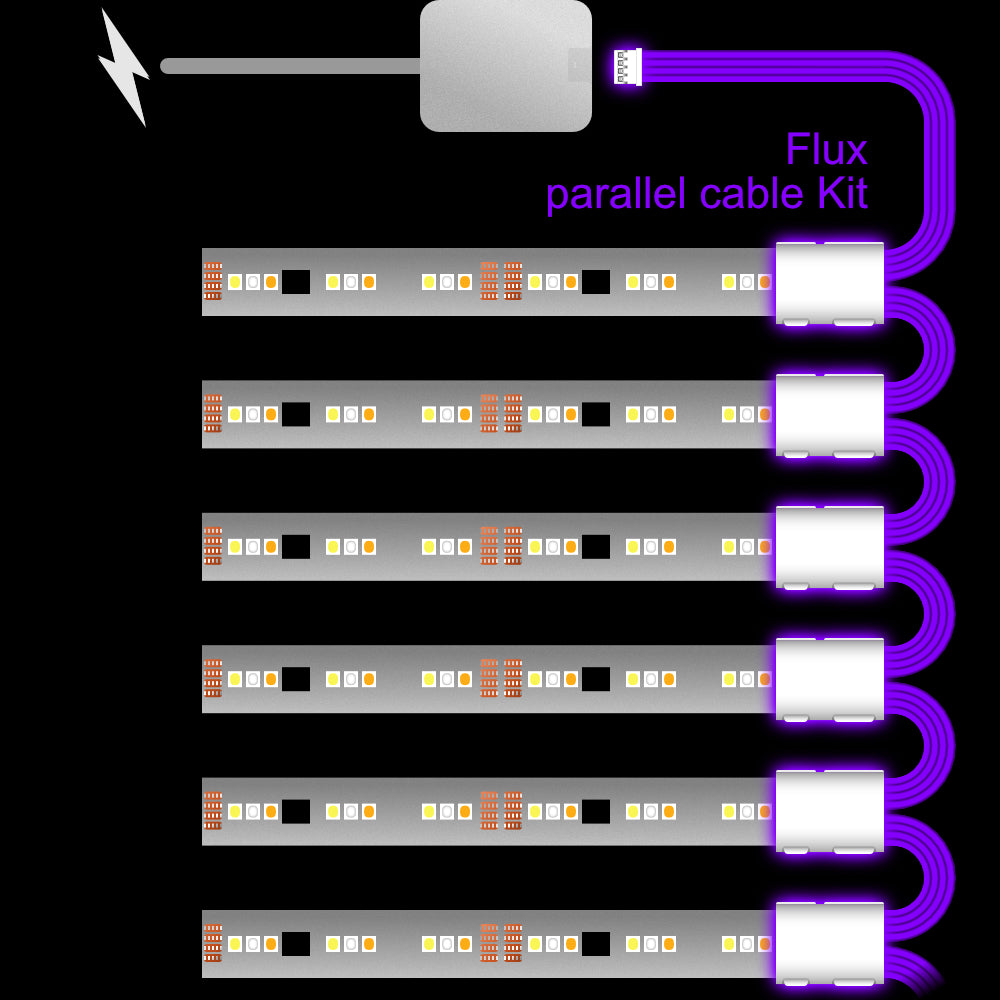
 1. Please turn off the lightstrip at the wall before plugging these cables in. This is because the Control Box calibrates to new cables and Extension LightStrips when powered on, so it knows how far to spread the gradient.




Orders are made and dispatched from the
 UK, soon after your order. If you are in an extra hurry, give us a shout and we'll do our best to make and send your order as soon as possible.
Taxes and duties are now taken upfront for
 Austria
 Bulgaria
 Cyprus
 Denmark
 Estonia
 France
 Germany
 Ireland
 Italy
Italy
 Luxembourg
 Malta
Malta
 the Netherlands
 Norway
 Portugal
 Slovakia
 Spain
Spain
 Switzerland
 Sweden
and the
Sweden
and the
 USA.
So, when you order from these countries, you won’t have to worry about extra charges when it arrives, and because of this, your order should arrive quicker. All other countries should expect customs charges on or before delivery.
USA.
So, when you order from these countries, you won’t have to worry about extra charges when it arrives, and because of this, your order should arrive quicker. All other countries should expect customs charges on or before delivery.
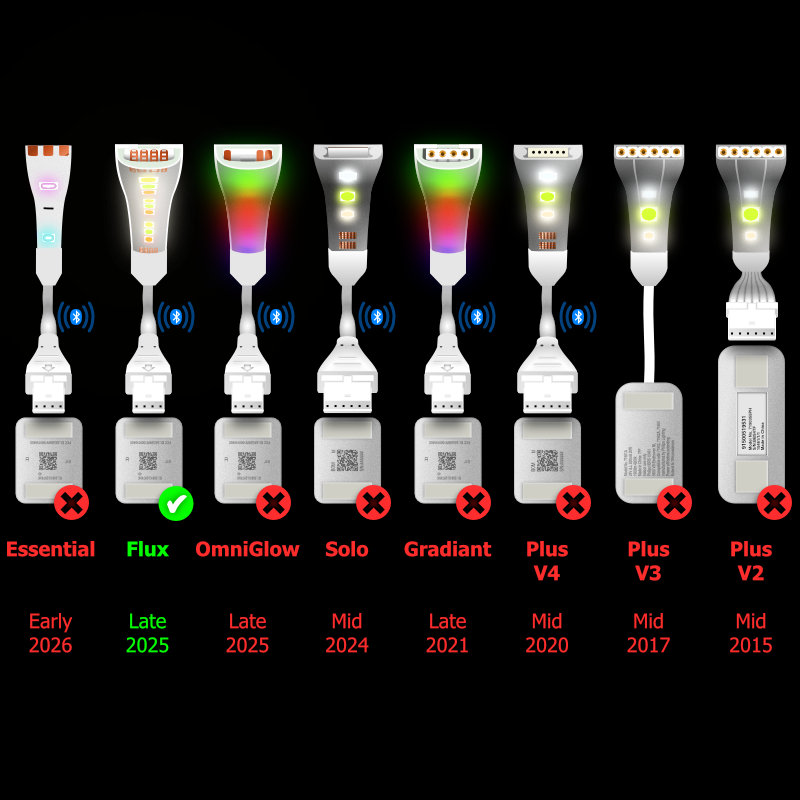
These are for use with Philips Hue LightStrip products only. Whilst our cables and adapters are being used by ourselves without any problems, you use them at your own risk. LightStrips and Control Box are not included.
Some images may not show you the exact cable you’ll receive, they’re there as a helpful guide that shows you how and where they’re meant to be used.
Everyone gets things wrong from time to time, so we do accept exchanges for those times, however, as all of our cables are made to order, we kindly ask you to make sure the product you order is the one you need. If you’re not sure, please feel free to ask, I’m sure we can figure it out.
LightStrips Anonymous was established in 2015. We've had a strong following and positive feedback for over 10 years on both ebay and amazon. In 2025 we launched this site.